
How To Change A Tire Safely At Home Step By Step For Beginners
Getting a flat tire can quickly turn a calm drive into a stressful experience. Learning how to change a tire gives you confidence, saves time, and helps you stay in control during unexpected situations. This guide explains the safest and easiest way to handle a flat tire at home or on the road.
Tools You Will Need
Before starting,
gather a spare tire,
car jack,
lug wrench,
wheel wedges,
and gloves.
Having the right tools makes changing a tire safer and faster.
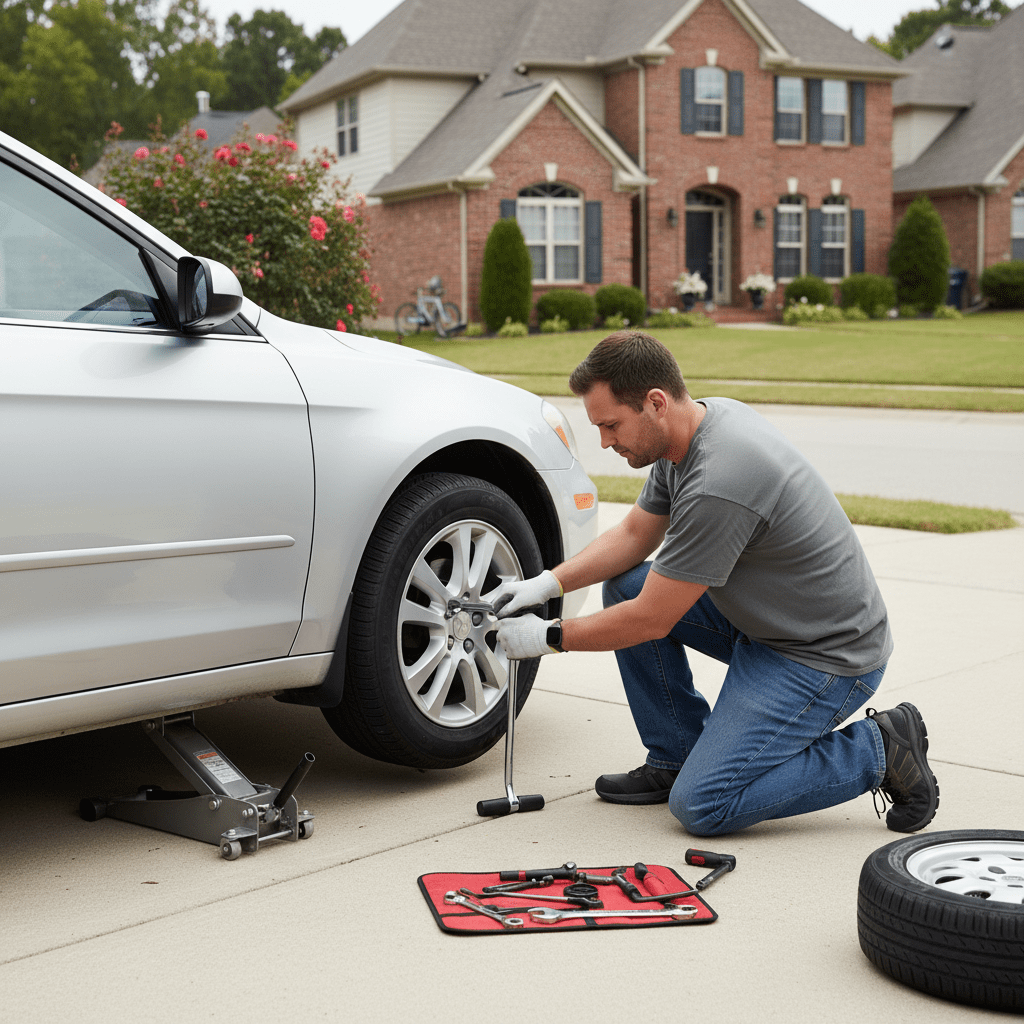
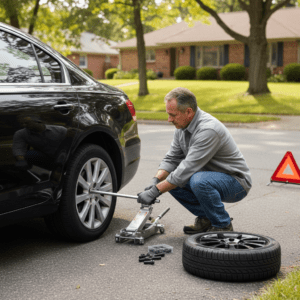
Step 1: Park Safely and Prepare
Move your car to a flat surface, turn on hazard lights, and apply the parking brake. Use wheel wedges to stop the vehicle from rolling.
Step 2: Loosen the Lug Nuts
Use a lug wrench to loosen the nuts slightly while the tire is still on the ground.
Step 3: Lift the Vehicle
Place the jack under the recommended lift point and raise the car until the tire is off the ground.
Step 4: Remove the Flat Tire
Remove the lug nuts completely and pull the flat tire straight toward you.
Step 5: Install the Spare Tire
Align the spare tire with the wheel bolts and hand-tighten the lug nuts.
Step 6: Lower and Tighten
Lower the vehicle and tighten the lug nuts firmly in a crisscross pattern.
Extra Tips for Bikes and Rims
Learning how to change a tire on a rim or how to change a bike tire by hand follows similar principles but requires different tools.
Final Thoughts
Knowing how to change a flat tire is an essential skill for every driver. With practice, the process becomes quick, safe, and stress-free.
Whether you’re drawn to breathtaking natural beauty, rich history, or vibrant cities, the Midwest is brimming with interesting places to visit in the midwest that cater to every interest. Embrace the diverse experiences awaiting you and make memories that last a lifetime!